In the dynamic realm of web development, creating immersive and interactive 3D experiences has become increasingly popular. Among the various tools available, Three.js stands out as a powerful and versatile JavaScript library for building 3D graphics on the web. In this blog post, we’ll embark on a journey into the fascinating world of Three.js, exploring its features and demonstrating how to create captivating 3D scenes.
What is Three.js ?
Three.js is an open-source JavaScript library that simplifies the process of creating 3D graphics on the web. Developed by Ricardo Cabello and actively maintained by a vibrant community, Three.js abstracts away much of the complexity associated with WebGL, making it accessible to developers of varying skill levels.
Setting up Three.js:
You can include Three.js in your project by either downloading the library or using a content delivery network (CDN).
<script src="https://threejs.org/build/three.js"></script>
Creating the scene:
To actually be able to display anything with three.js, we need three things: scene, camera and renderer, so that we can render the scene with camera.
Scene Setup:
// Set up the scene
const scene = new THREE.Scene();
Here, you create a new Three.js scene using THREE.Scene(). This scene will contain all the 3D objects, lights, and cameras.
Camera Setup:
const camera = new THREE.PerspectiveCamera(75, window.innerWidth / window.innerHeight, 0.1, 1000);
camera.position.z = 5;
A perspective camera is created using THREE.PerspectiveCamera. The parameters for this camera are:
75: Field of View (FOV) in degrees. This determines how much of the scene is visible.window.innerWidth / window.innerHeight: Aspect ratio. It’s set to the width and height of the window.0.1and1000: Near and far clipping planes. Objects closer than 0.1 and farther than 1000 units from the camera won’t be rendered.
The camera is then positioned along the z-axis at a distance of 5 units.
Renderer Setup:
const renderer = new THREE.WebGLRenderer();
renderer.setSize(window.innerWidth, window.innerHeight);
document.body.appendChild(renderer.domElement);
A WebGL renderer is created using THREE.WebGLRenderer(). The renderer’s size is set to match the window’s dimensions, and its DOM element is appended to the document body.
Cube Setup:
const geometry = new THREE.BoxGeometry();
const material = new THREE.MeshBasicMaterial({ color: 0x00ff00 });
const cube = new THREE.Mesh(geometry, material);
scene.add(cube);
A cube is created by combining a BoxGeometry (defining its shape) and a MeshBasicMaterial (defining its appearance). The cube is then added to the scene.
Lights Setup:
const ambientLight = new THREE.AmbientLight(0xffffff, 0.5);
scene.add(ambientLight);
const pointLight = new THREE.PointLight(0xffffff, 1);
pointLight.position.set(5, 5, 5);
scene.add(pointLight);
An ambient light (global illumination) is added to the scene with a color of white (0xffffff) and an intensity of 0.5.
A point light is also added with a color of white and an intensity of 1. It is positioned at (5, 5, 5) in 3D space.
Animation Loop:
function animate() {
  requestAnimationFrame(animate);

  // Rotate the cube
  cube.rotation.x += 0.01;
  cube.rotation.y += 0.01;

  renderer.render(scene, camera);
}

// Start the animation loop
animate();
The animate function is a basic animation loop using requestAnimationFrame. Inside the loop, the cube is rotated around its x and y axes, creating a simple rotation animation. Finally, the renderer renders the updated scene using the camera.
Example:
<!DOCTYPE html>
<html lang="en">
<head>
    <meta charset="UTF-8">
    <meta name="viewport" content="width=device-width, initial-scale=1.0">
    <title>Three.js Cube</title>
    <style>
        body { margin: 0; }
    </style>
</head>
<body>
    <script src="https://threejs.org/build/three.js"></script>
    <script>
        // Set up scene
        const scene = new THREE.Scene();

        // Set up camera
        const camera = new THREE.PerspectiveCamera(75, window.innerWidth / window.innerHeight, 0.1, 1000);
        camera.position.z = 5;

        // Set up renderer
        const renderer = new THREE.WebGLRenderer();
        renderer.setSize(window.innerWidth, window.innerHeight);
        document.body.appendChild(renderer.domElement);

        // Create cube
        const geometry = new THREE.BoxGeometry();
        const material = new THREE.MeshBasicMaterial({ color: 0x00ff00 });
        const cube = new THREE.Mesh(geometry, material);
        scene.add(cube);

        // Set up animation
        const animate = function () {
            requestAnimationFrame(animate);

            // Rotate cube
            cube.rotation.x += 0.01;
            cube.rotation.y += 0.01;

            renderer.render(scene, camera);
        };

        // Handle window resize
        window.addEventListener('resize', () => {
            const newWidth = window.innerWidth;
            const newHeight = window.innerHeight;

            camera.aspect = newWidth / newHeight;
            camera.updateProjectionMatrix();

            renderer.setSize(newWidth, newHeight);
        });

        animate();
    </script>
</body>
</html>
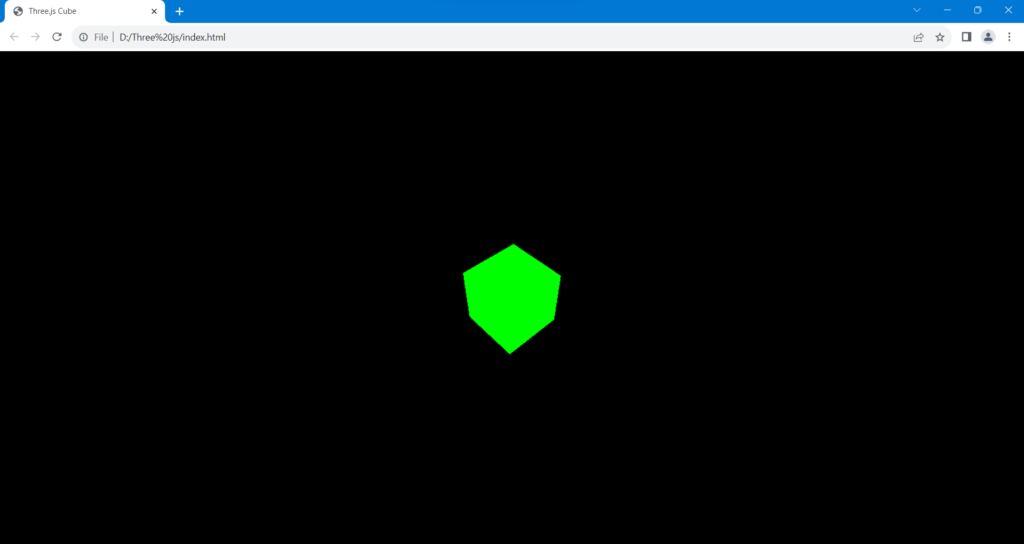
Output:
Conclusion:
This brief exploration only scratches the surface of what Three.js can offer. As you delve deeper into its documentation and community resources, you’ll discover the vast possibilities for creating stunning 3D web experiences. Whether you’re building games, simulations, data visualizations, or virtual tours, Three.js empowers developers to bring their ideas to life in the browser. So, grab your creativity and start shaping the future of web graphics with Three.js!